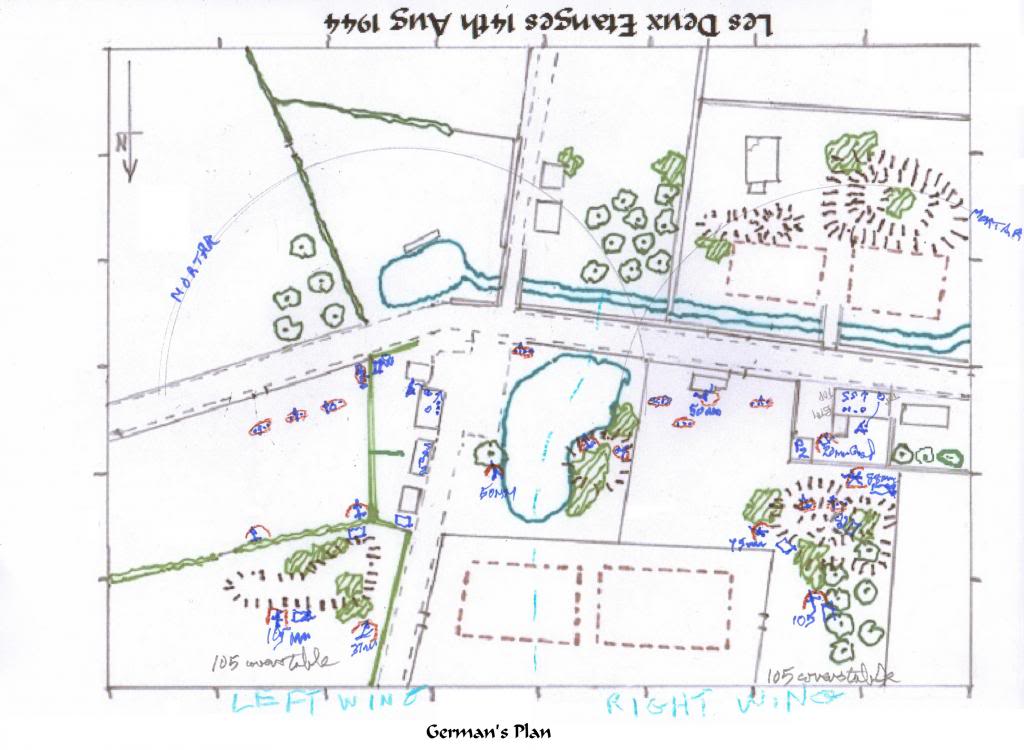
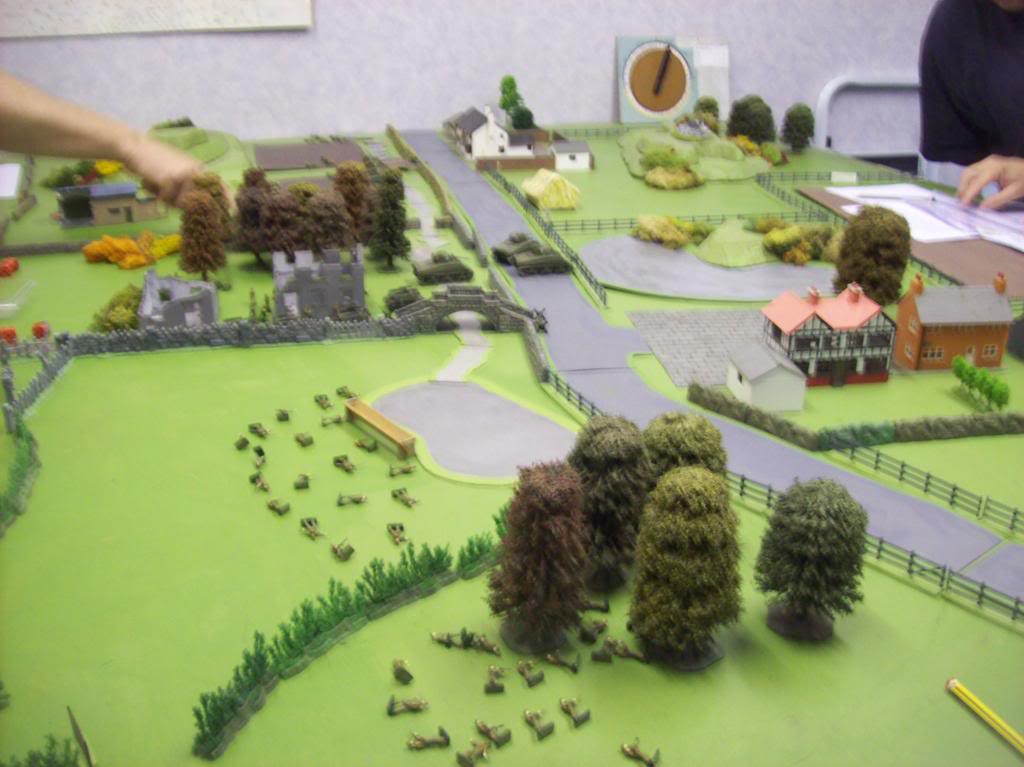
I went across early with Hugh to to John's home to set up our defenders (Germans) and mark up our map. John was to be umpire and had drawn the very fine and scaled maps for us. He had already placed many of the weapons that "Higher Command" had allocated to both sides. Our map is deliberately upside down with my defending Germans at the bottom in blue following the British map marking convention of WW2 where our chaps were in scarlet and Johnny Foreigner in French Blue!
The British commanders (Brian and Paul) arrived a bit later.
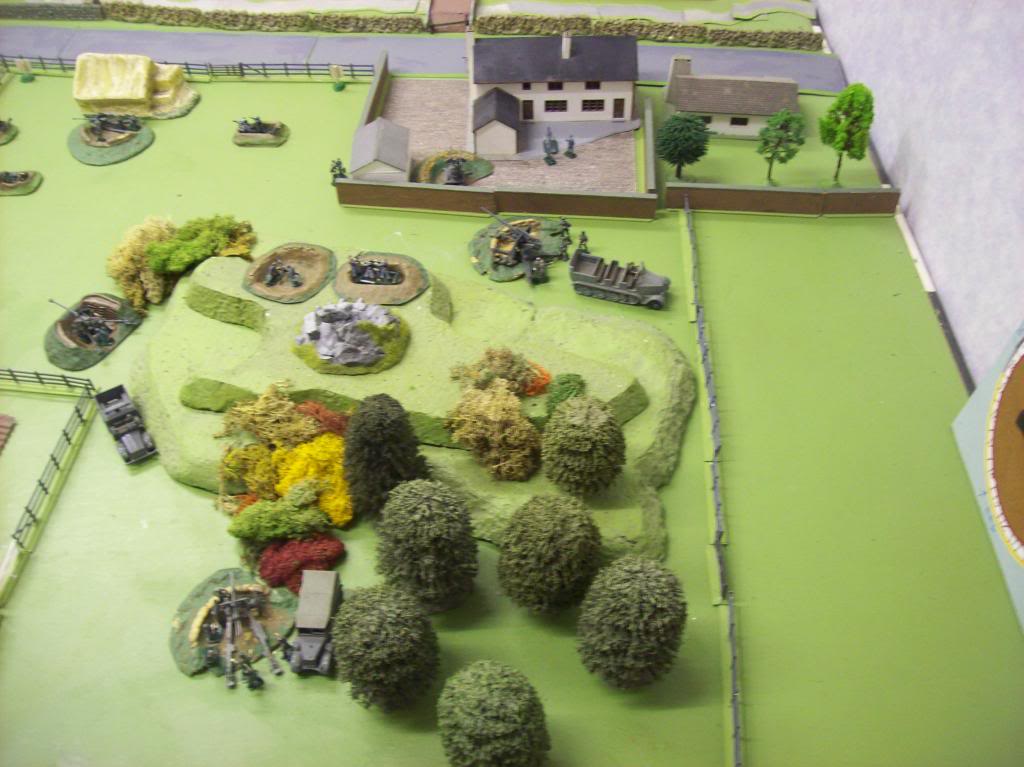
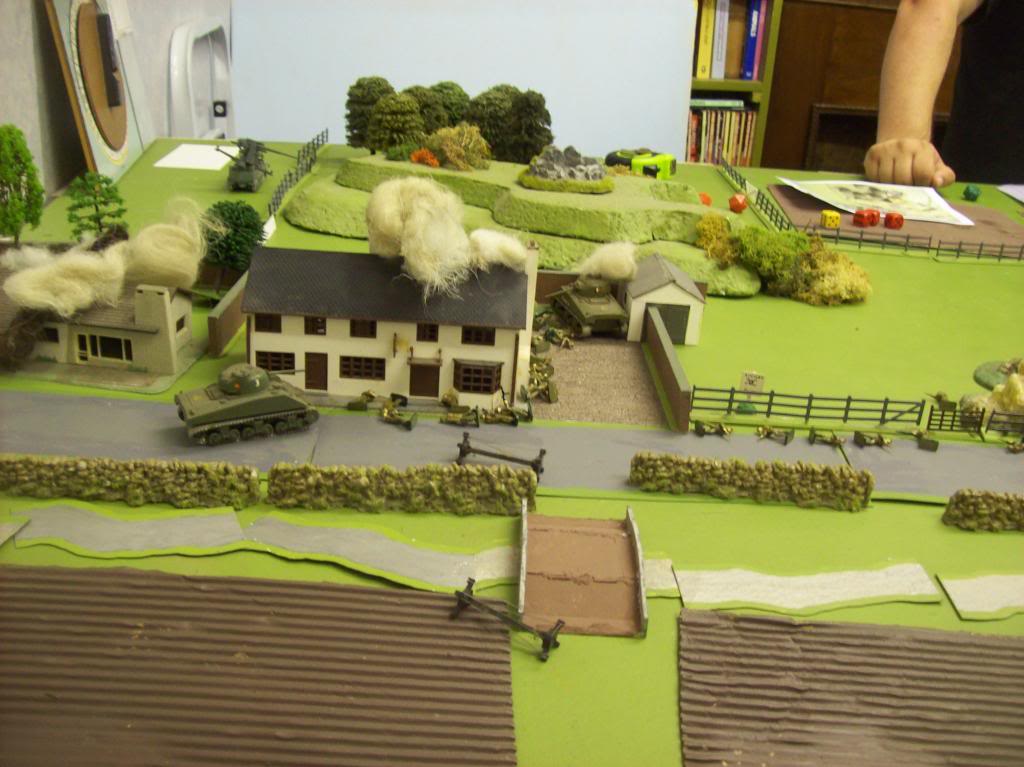
The battle of Les Deux Etangs was to be fought between elements of the British veteran 43 Wessex Division and the battered remnants of my sadly depleted 223 Infantry Division. My troops had virtually no transport, companies were barely half strength and support weapons few in number. My forces had been ordered to deny the Brie - Camembert Road to the enemy. Thus I was forced into a forward defence stance. I prepared the two bridges for demolition but was not confident that they would actually be destroyed.
The British set off with strong attacks in the centre and my right with a company masking my left.

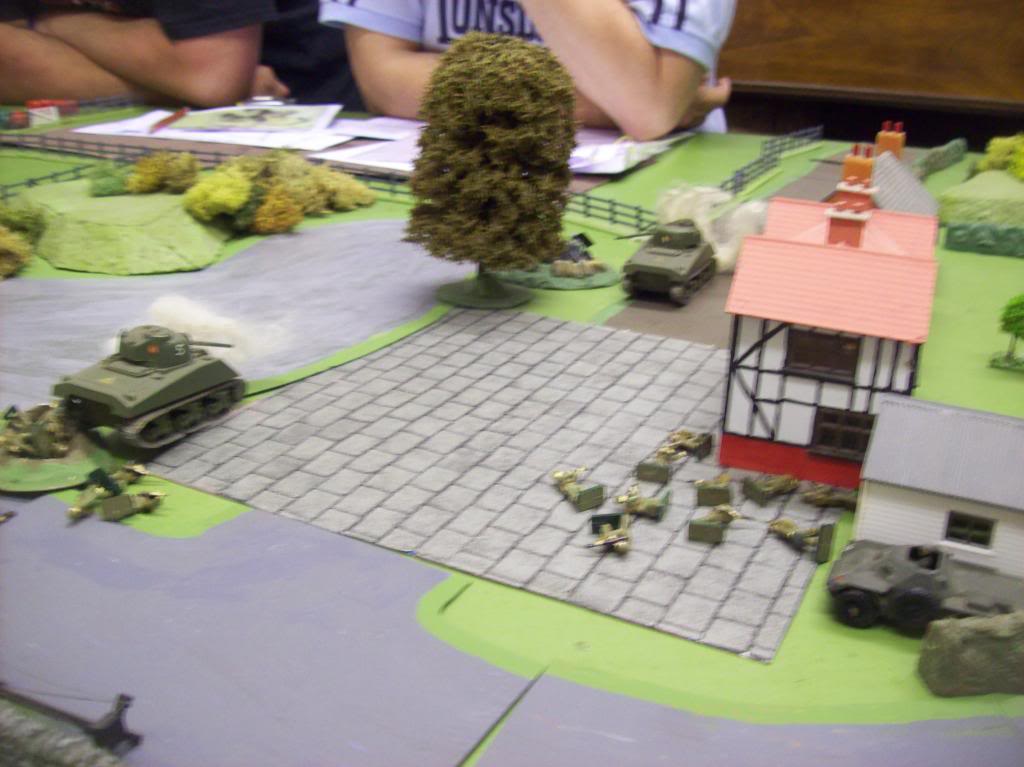
They quickly reached the bridges and, as anticipated, the charges failed to demolish them.
Then we opened fire. Our first salvo was devastating.
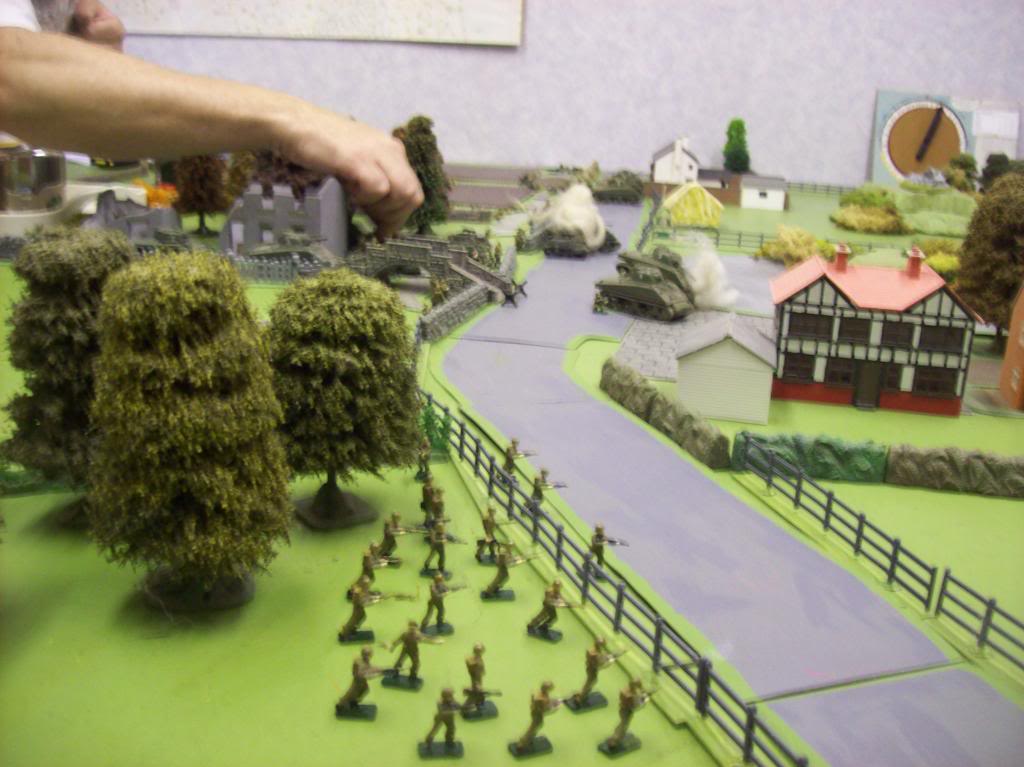
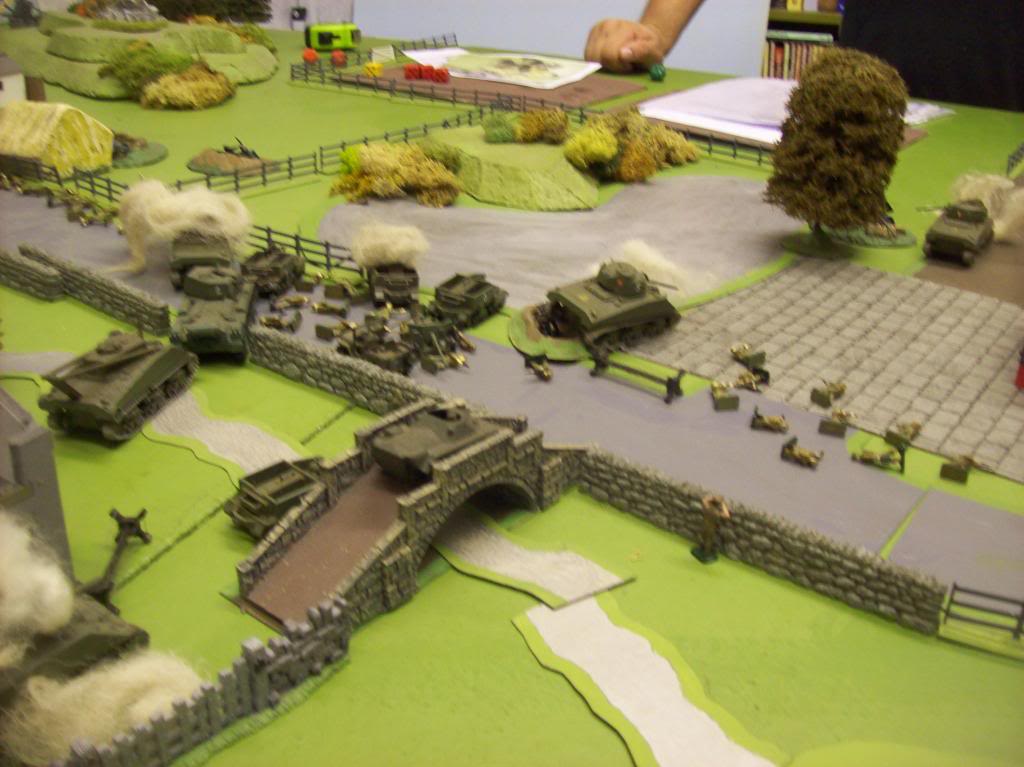
The attack stalled for a bit and then came on again. There were just too many of them!
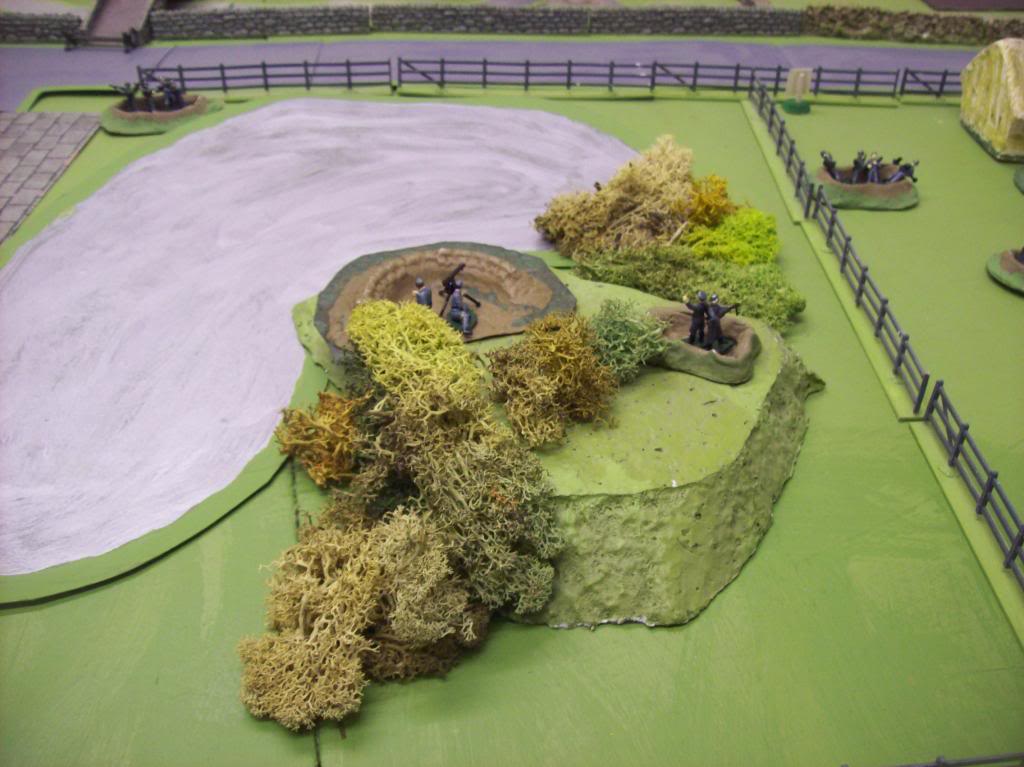
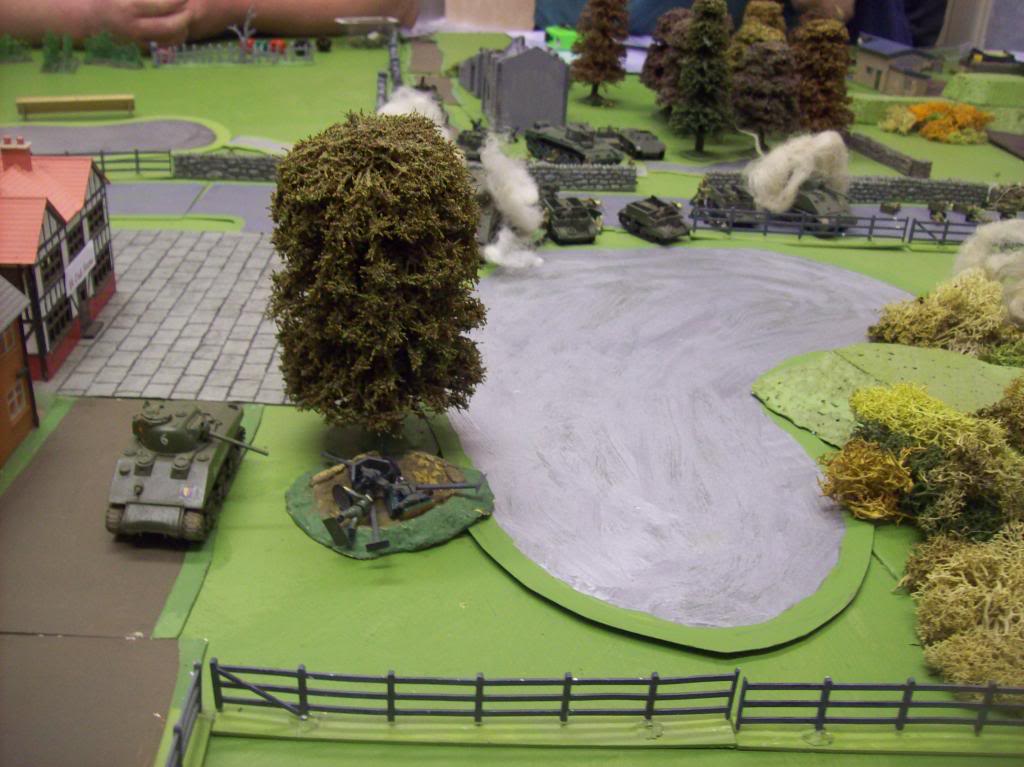
The FlaK defending the Bridge goes under in hail of shells and bullets
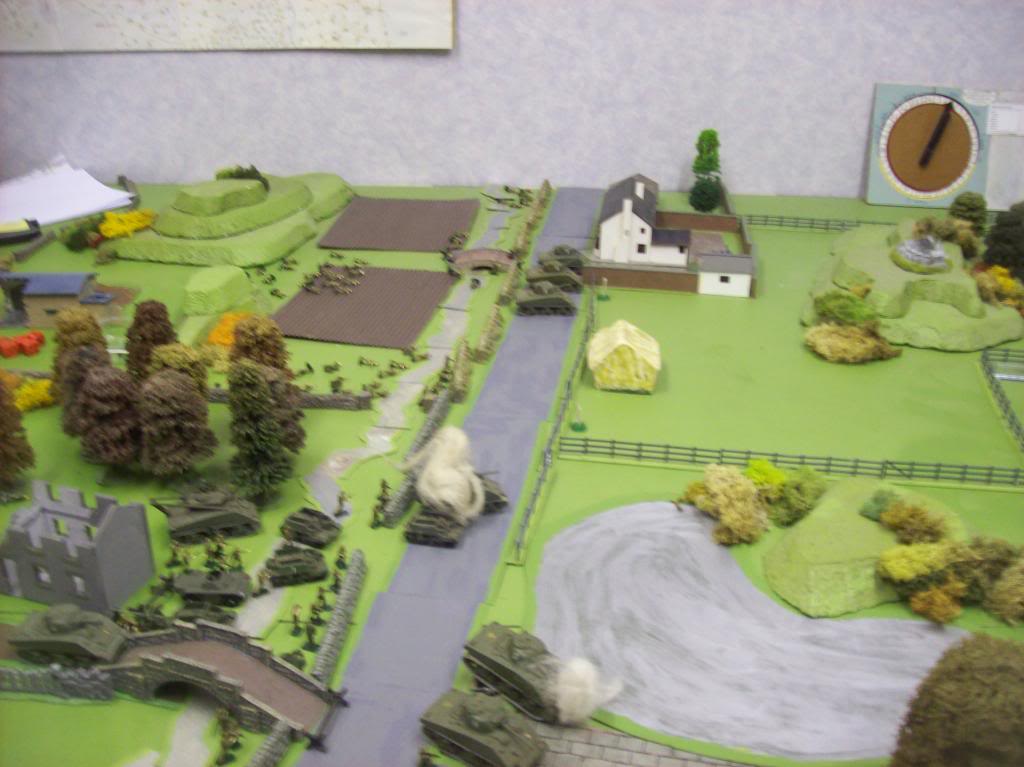
More British armour is destroyed but the recovery tank arrives.
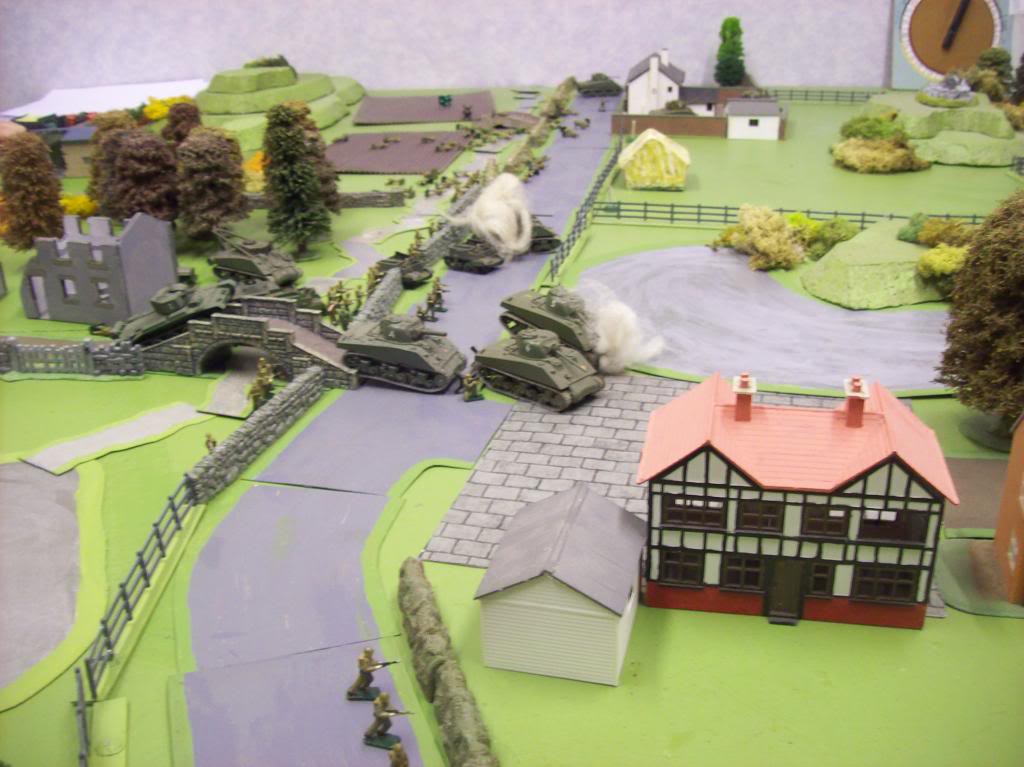
Then a single Sherman rushes on to attack and wipe out the crew of our only PaK-38 defending the road
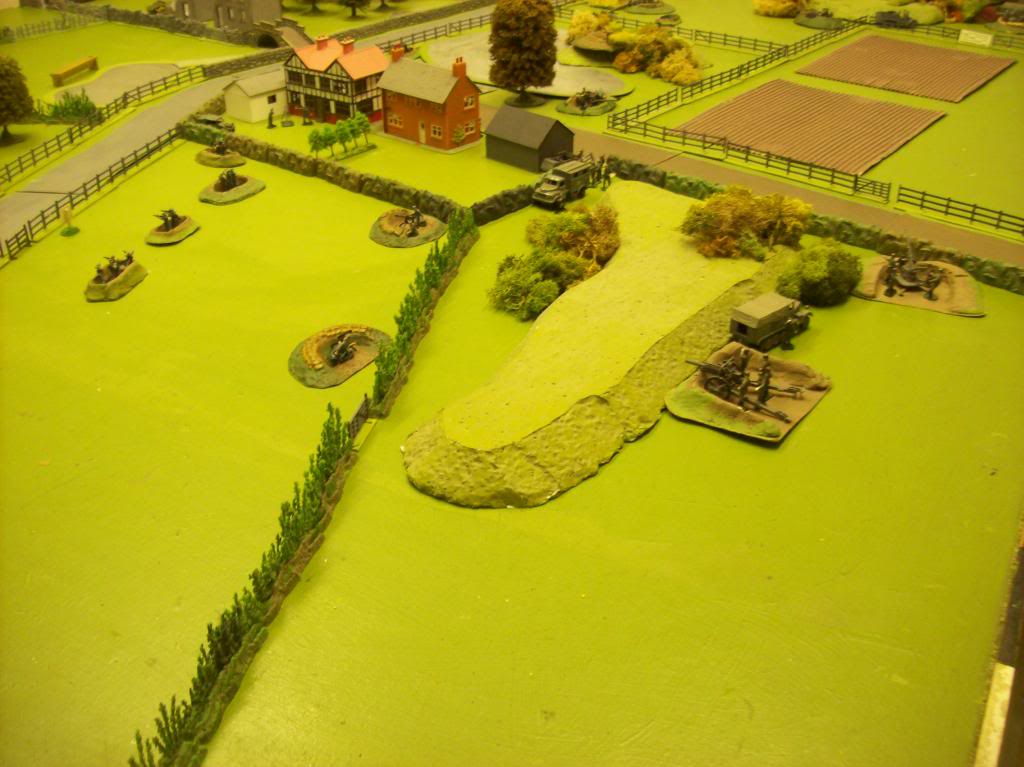
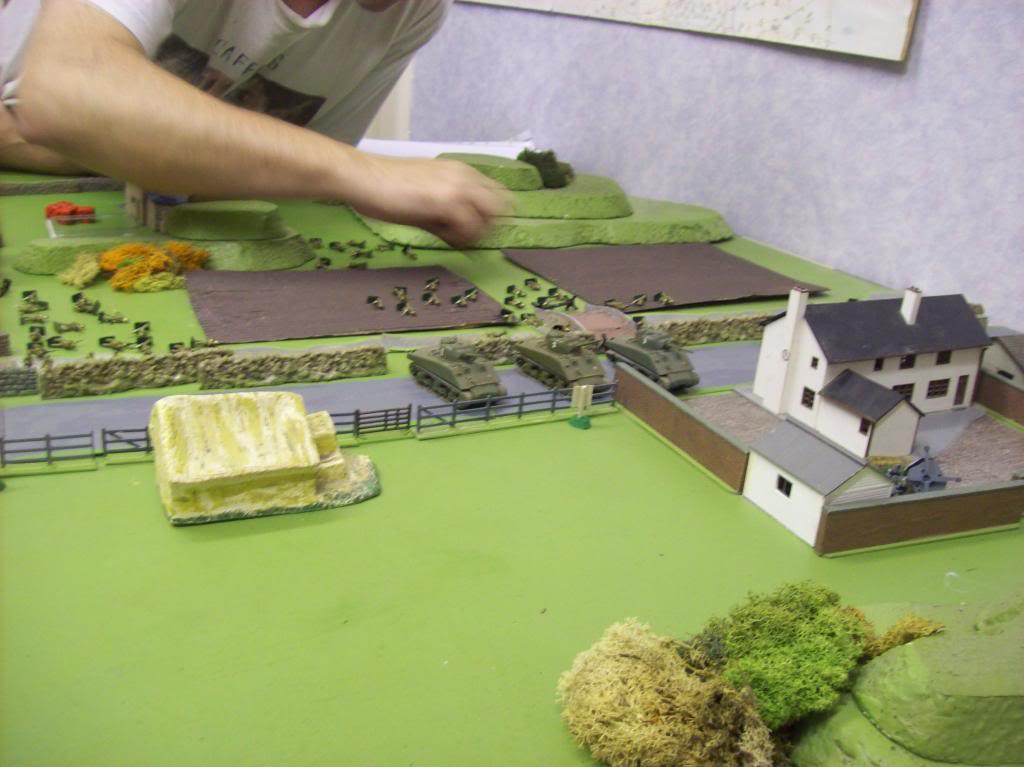
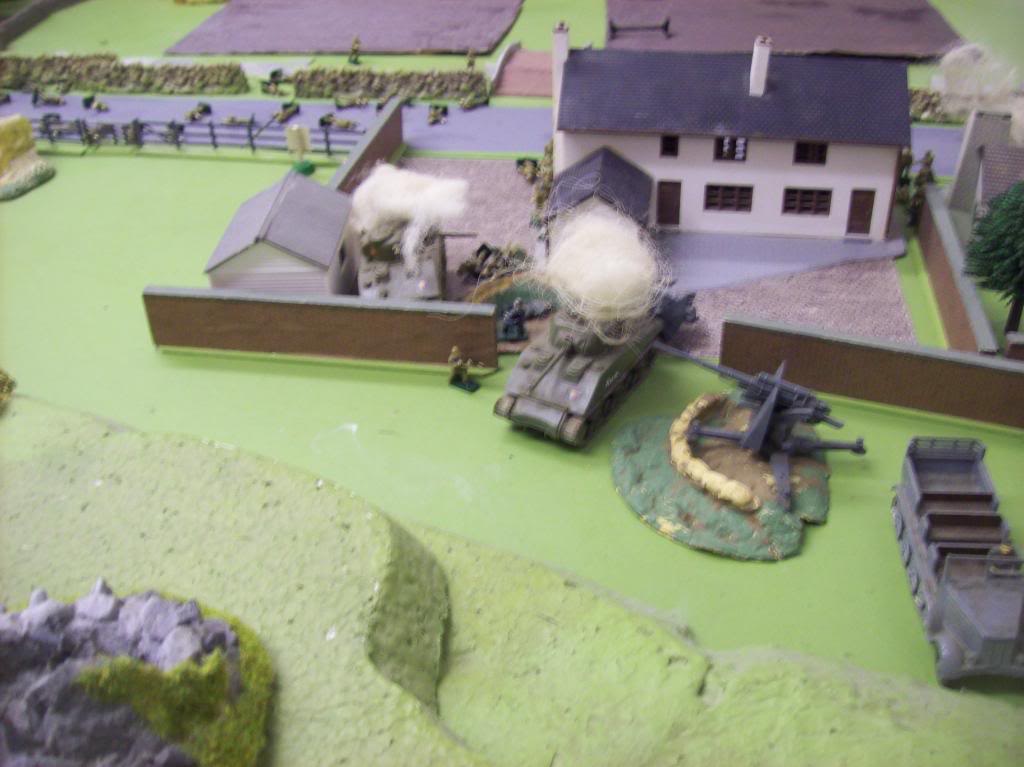
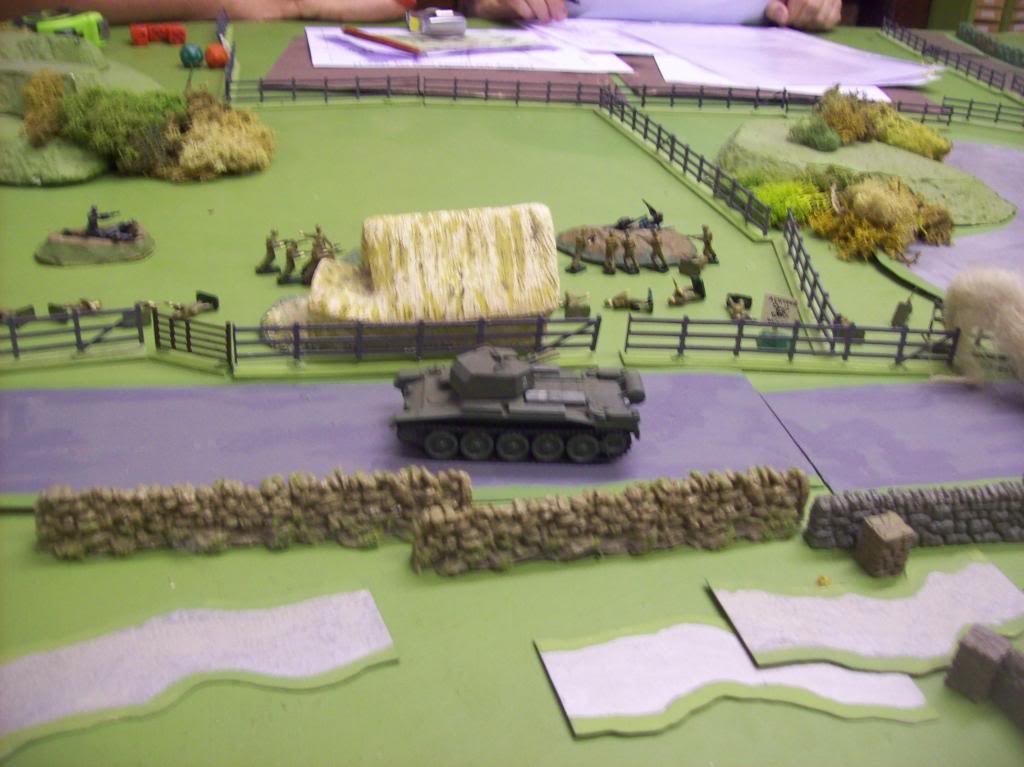
The British break through the farm wall and get a nasty (and fatal) surprise
The Centre resumes its slow but steady progress and the lone Sherman is destroyed by a Panzerschrek
Our right falls as the farm, now ablaze, is stormed and the infantry pass beyond forcing the 88 to withdraw
The Inn at the crossroads falls - its defenders died to the last man
The British capture the forward positions
Over on our left the forward company is overwhelmed heroically fighting to the end. The officer being the last to fall.
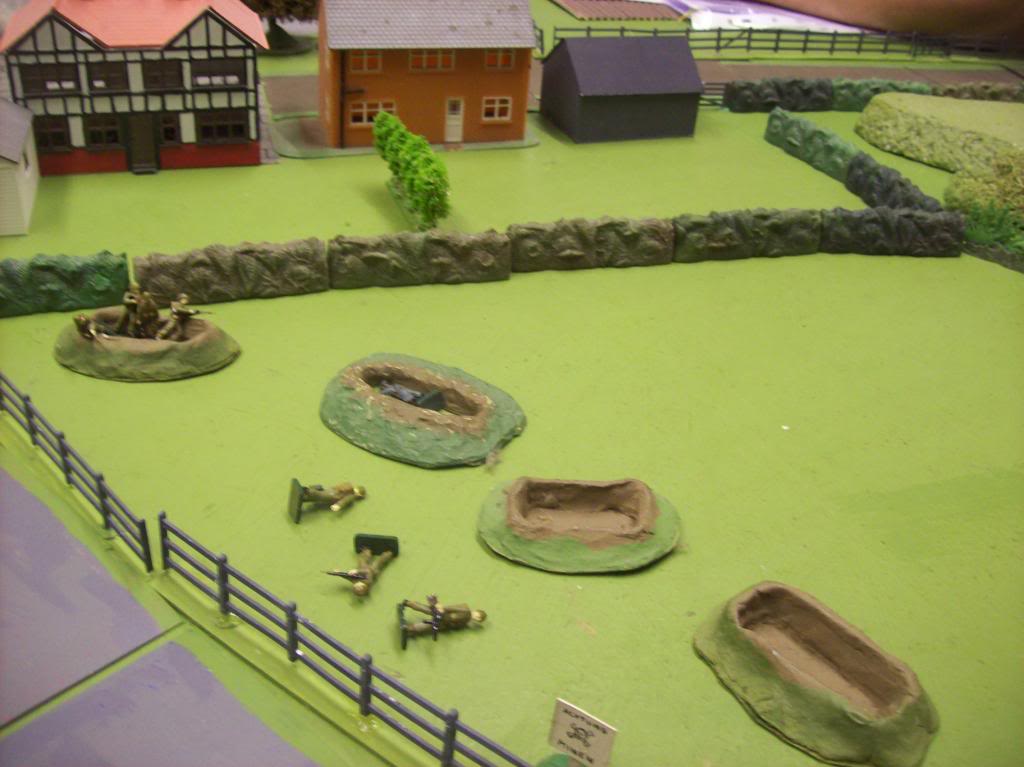
At the end the British held only our front line trenches but we had lost nearly all our infantry and 2 of our 3 anti-tank guns. I ordered the remaining infantry to hold as long as possible then break off and withdraw. The artillery and the surviving PaK-40 limbered up and drove off. A lot of our equipment survived.